QuTiP Virtual Lab Dev Log #2
Picking up from where we left off last week, this week I focused on establishing a build environment for the QuTiP Virtual Lab application. Although this may seem tangential to the actual application, it will allow future contributors to build the application regardless of their platform (Windows, Mac, Linux).
The way to do this is by specifying a container for building the application via a Dockerfile.
Then, anyone with the source code and docker installed should be able to build the application.
The steps for building the application are:
- Install all the required binaries, configurations, and build tools, including Python.
- Create a virtual environment with
micromambabased on the QuTiP package and its dependencies. - Pack the environment using
empackand compile a WebAssembly module withemscripten-32.
Fortunately, micromamba provides a base image with micromamba installed.
The link also details how to set up a virtual environment.
For our application, we set up two virtual environments:
base: includesempackand its dependencies.web: includesqutipand its dependencies, for compilation withemscripten-32.
To complete step (3), we just activate the base environment and tell Docker to run empack to pack the web environment.
This produces a WebAssembly module and a Javascript file that allows us to call the compiled QuTiP code from our application code.
Integrating WebAssembly in a React App
Once the task of compiling QuTiP to WebAssembly was taken care of, I turned to running the task of running the WebAssembly in a React application.
Webpack Woes
Getting React to run in the browser requires webpack, which pulls in all of the Javascript dependencies and produces a single bundle that a web page can run.
I added a webpack.config.js file to do this, and added a configuration for including the WebAssembly created from docker in the previous step in the bundle.
With this configuration in place, I added a few scripts to the project to run both docker and webpack, and then start a development server with the output.
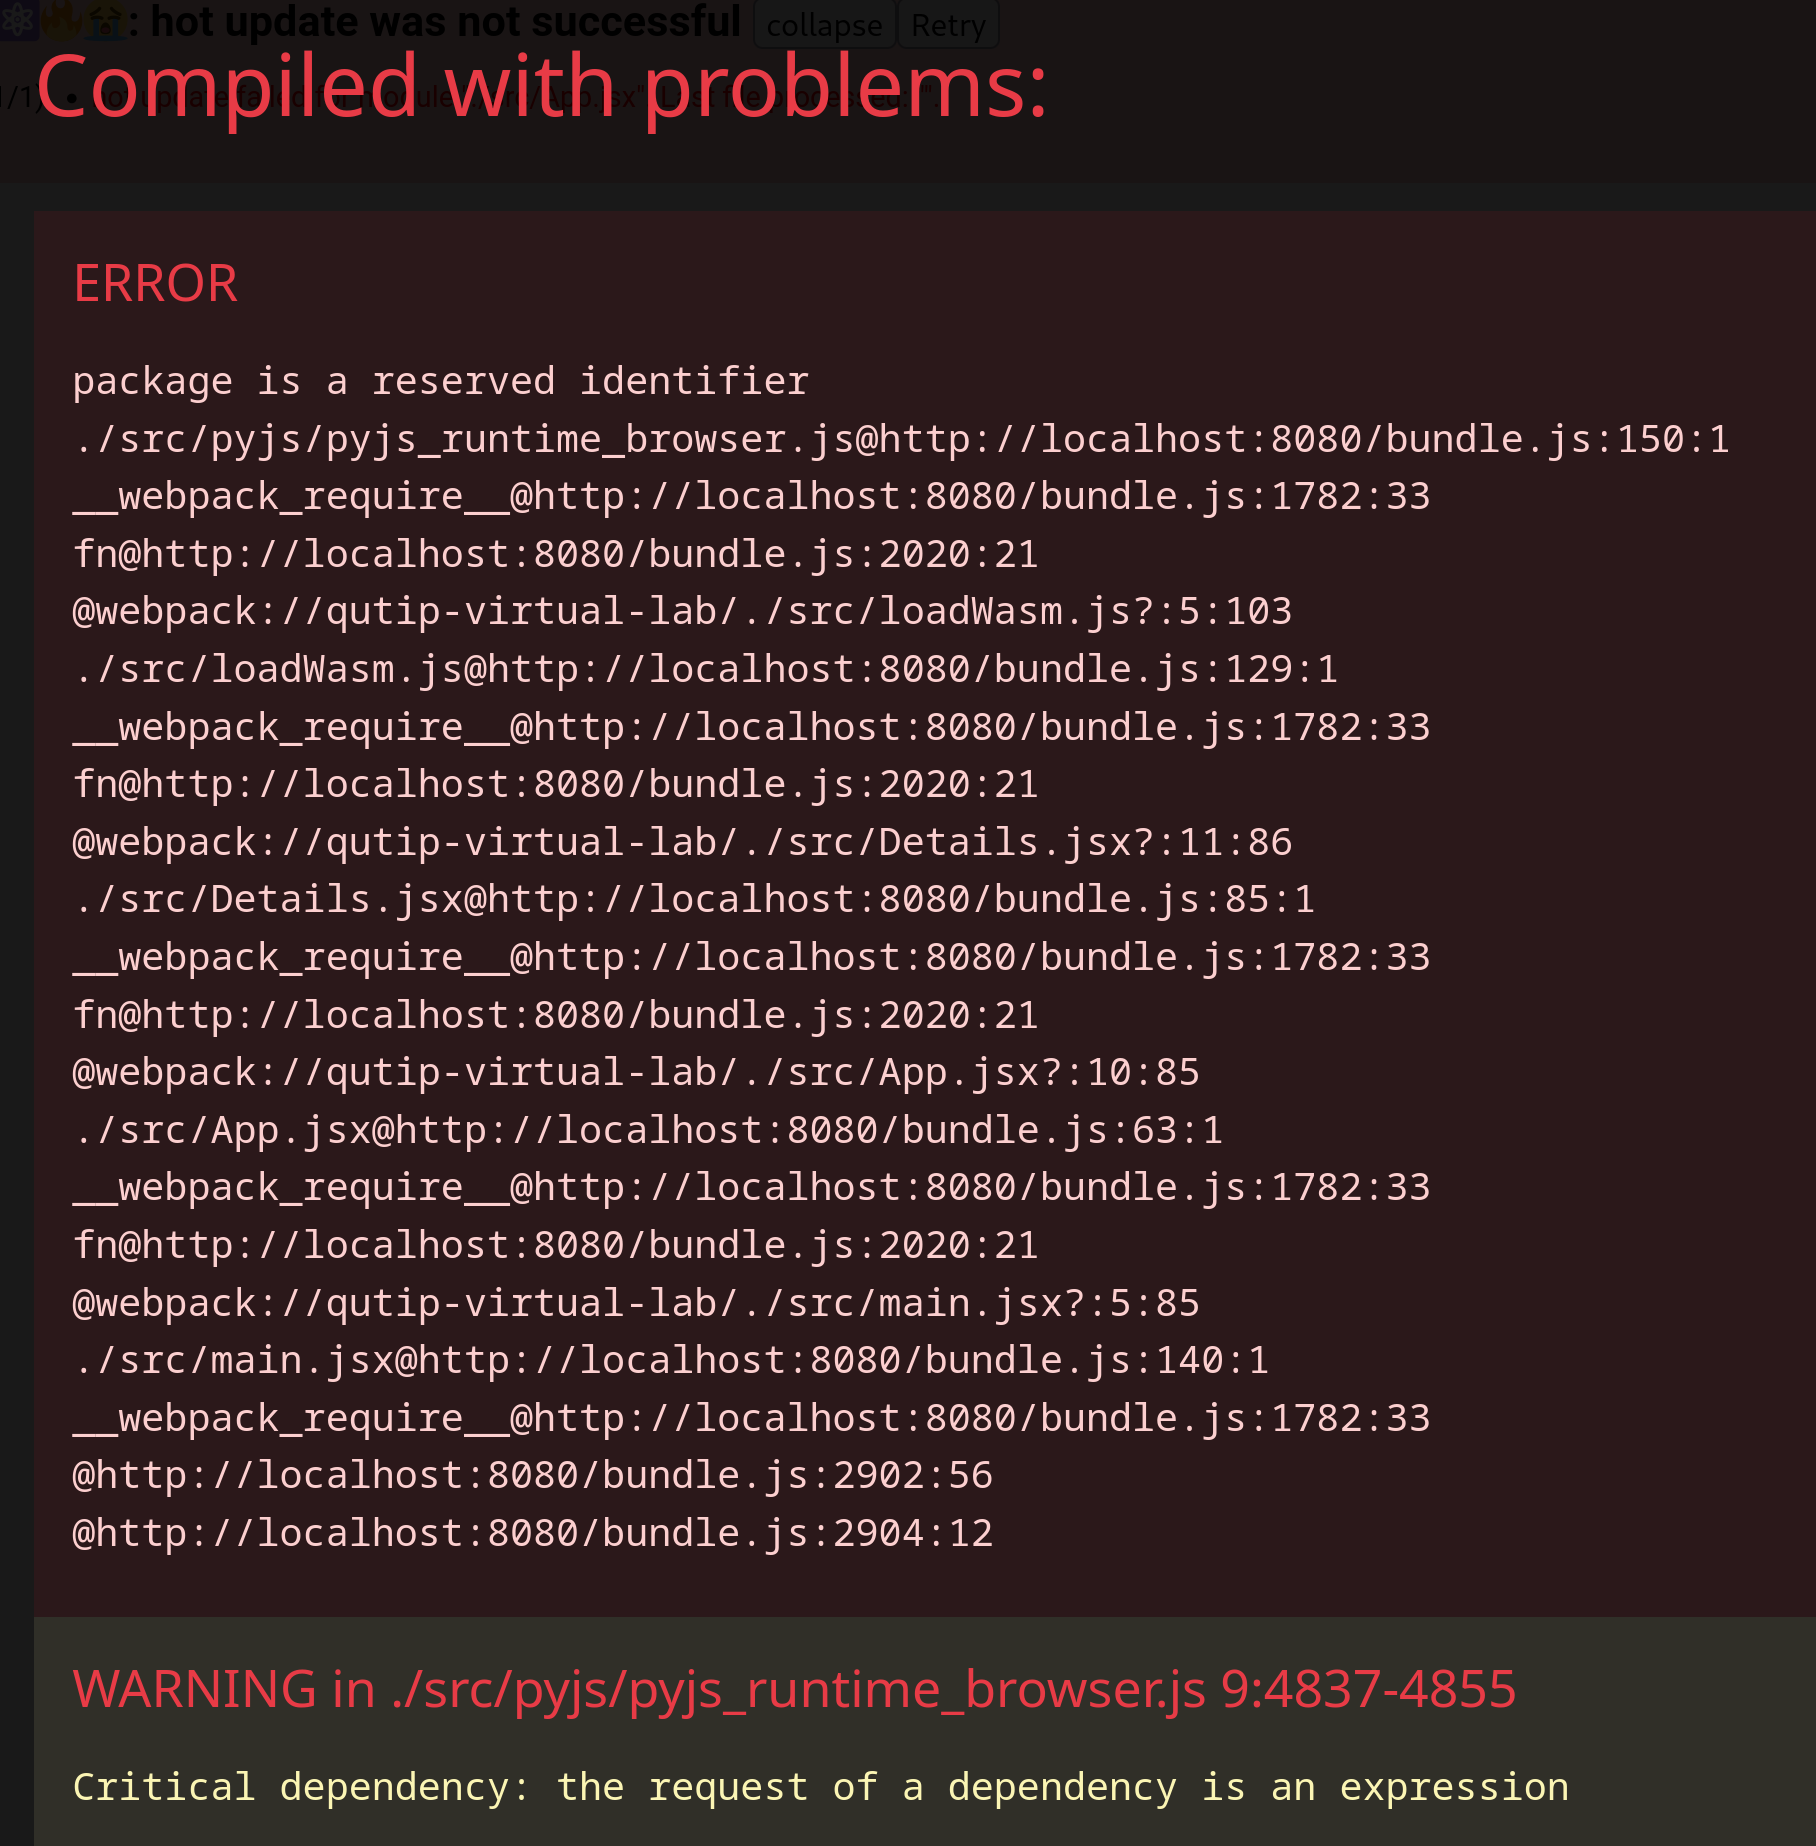
However, when I first did this, I was greeted with an error from webpack.

As it turns out, the pyjs Javascript runtime had used the word package as a variable name, and according to MDN, package is a future reserved keyword.
Although a proper fix would require editing the pyjs source code (which is a problem because it is an external package), we can just patch the file by manually renaming the variables with Find + Replace.
After renaming the variable, it was revealed that this was the only issue preventing the application from starting, so I made a note to properly fix this issue, and continued on to developing the user interface.
First Pass at a User Interface
I had made a sketch of what the user interface could look like as a part of the proposal, so I took that as my starting point.
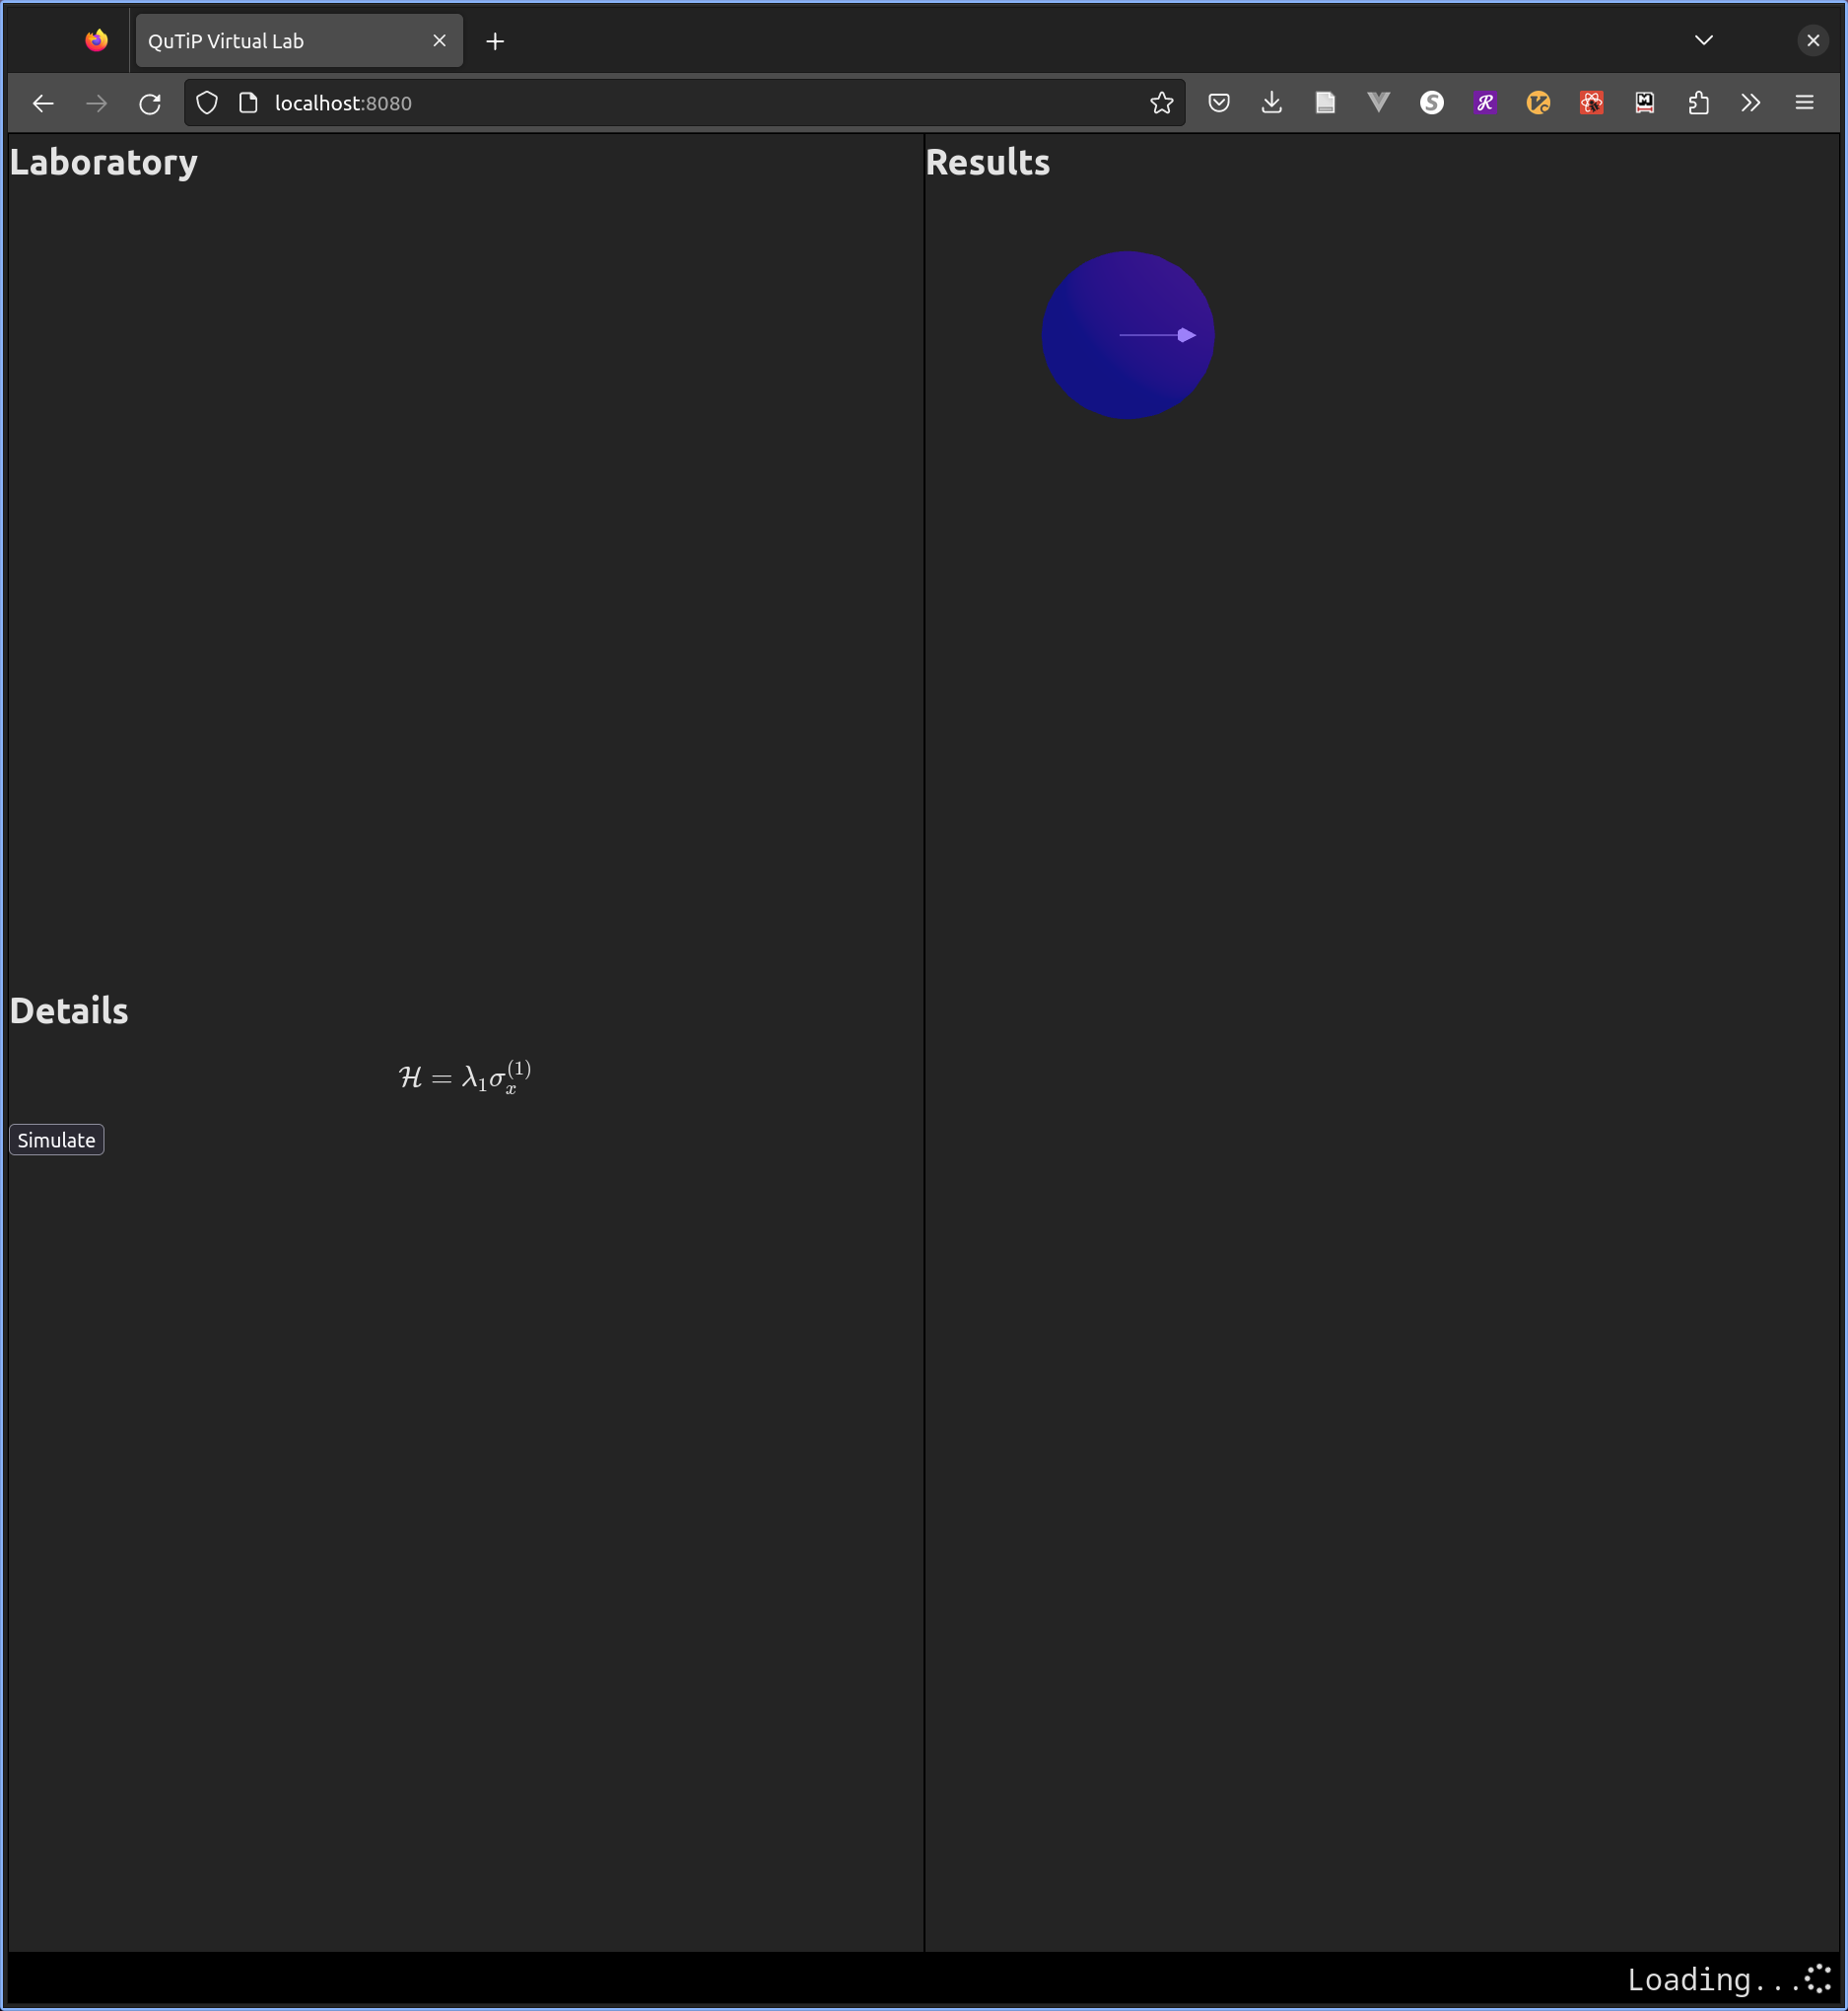
The sketch featured three panes: a “lab” where the user could drag-and-drop qubits and draw interactions between them; a “details” pane where the user could see the lab configuration described in terms of equations – with a large “simulate” button; and a “results” pane where the user could see the results of the simulation, in terms of Bloch spheres and time-evolution plots.
The mentors and I had decided to try to get the second two panes working before trying to add the first, so I started by adding the katex package to render equations in the browser and Three.js for rendering the Bloch spheres.
After re-running webpack with the new dependencies and writing some code for rendering a simple sphere, I was able to get a proof-of-concept UI working:

Next steps
Pressing the Simulate button doesn’t do much at this point, so the app is quite working yet.
Also, the code for running QuTiP is not cached on the client, which means pressing the button will be slow.
Finally, we need a better way than Find + Replace to patch the pyjs runtime.
Next week, I will be focusing on fixing these issues.
Comments